# Video SDK UI Toolkit components are here!
We are excited to announce the Zoom Video UI Toolkit components for web, an all new way to build with the Video SDK and UI Toolkit. UI Toolkit components are prebuilt video chat components that are built on top of the Zoom Video SDK and make it easier for developers to build applications with video, audio, and chat capabilities.
In under a few lines of code, developers can integrate the following UI Toolkit components into their web application:
| Component | Description |
| ---------------------- | ------------------------------------------------------------------------------------------------------------------------------------------------------------ |
| `uitoolkit-components` | Required wrapper that gives UI Toolkit components access to Video SDK session and context. |
| `controls-component` | Enables users to envoke actions such as muting, starting video, screen sharing, and more. |
| `video-component` | Displays user videos and screen sharing. |
| `chat-component` | Displays in session chat for group and private messaging. |
| `users-component` | Displays the list of users in a session and allows hosts to moderate the session. |
| `settings-component` | Displays the session settings and allows users to configure virtual background, camera, microphone, and speaker devices, and see session quality statistics. |
Here is an example of how to implement the UI Toolkit components on web:
1. Install the UI Toolkit:
```js
$ npm install @zoom/videosdk-ui-toolkit --save
```
1. Import the UI Toolkit and configure your session settings, making sure to include your [token](/docs/video-sdk/auth/):
```js
import uitoolkit from "@zoom/videosdk-ui-toolkit";
var config = {
videoSDKJWT: "TOKEN",
sessionName: "SessionA",
userName: "UserA",
sessionPasscode: "abc123",
features: ["video", "audio", "share", "chat", "users", "settings"],
};
```
1. Create a container for the wrapper and call `uitoolkit.showUitoolkitComponents`, passing in the container and your session config:
```html
```
```js
var wrapperContainer = document.getElementById("wrapperContainer");
uitoolkit.showUitoolkitComponents(wrapperContainer, config);
```
1. Now that the wrapper is placed in your application, its time to add the UI Toolkit components:
```html
```
```js
var controlsContainer = document.getElementById("controlsContainer");
uitoolkit.showControlsComponent(controlsContainer);
```
Now that you see just how easy it is to implement UI Toolkit components, lets take a look at what you can build with them!
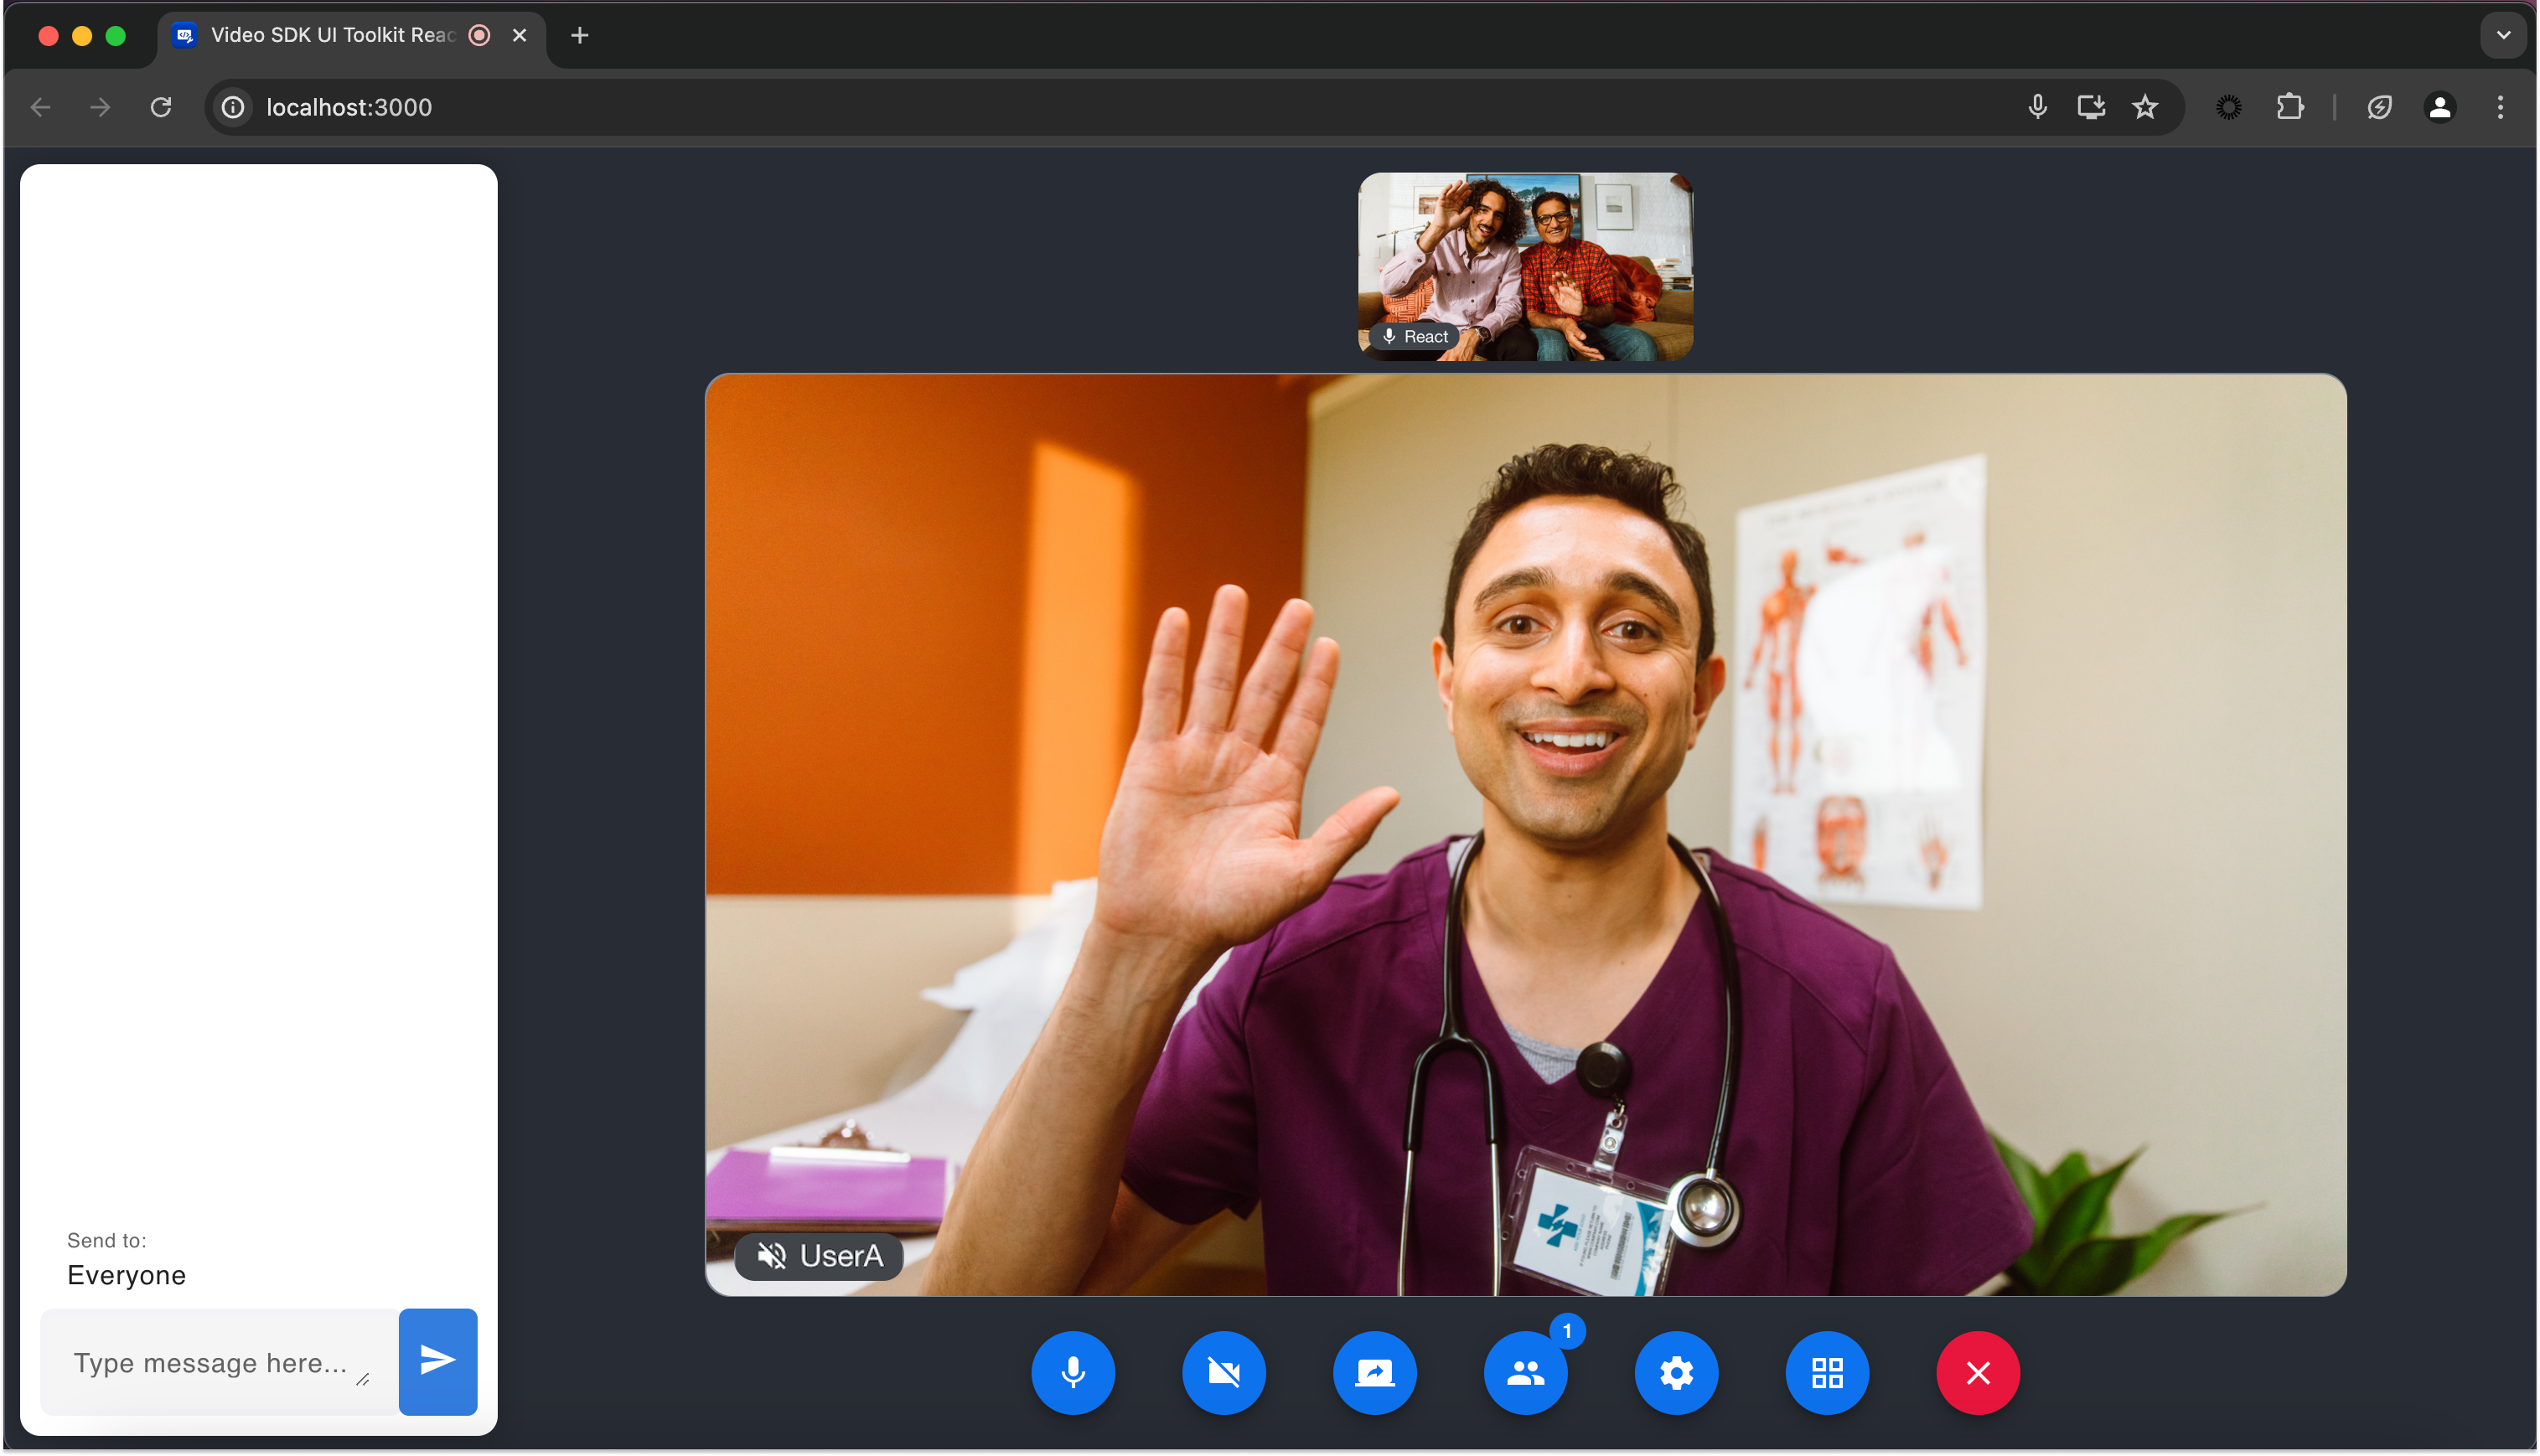
Here is an example of how to build the above layout:
1. First, we will need to create a div to contain everything. For this, we will use the div with id `#sessionContainer`, with the following css applied.
```html
```
```css
#sessionContainer {
display: flex;
width: 100vw;
height: 100vh;
background-color: #282c34;
}
```
1. Second, we will need to create two sections: left and right. These will seperate the chat section with the video and controls section.
```html
```
```css
#sessionContainer .left {
width: 20%;
padding: 10px;
}
#sessionContainer .right {
display: flex;
flex-direction: column;
width: 65%;
height: 100%;
padding: 0 7.5%;
}
```
1. Third, we will place the chat component's container in the left section and the video component and controls component's containers in the right section.
```html
```
```css
#sessionContainer .left #chatContainer {
height: 100%;
}
```
1. Now that our HTML and CSS is squared away, lets add some JavaScript to dynamically add the UI Toolkit components to their respective containers.
```js
var sessionContainer;
var chatContainer;
var videoContainer;
var controlsContainer;
var config = {
videoSDKJWT: "VIDEO_SDK_JWT_HERE",
sessionName: "SESSION_NAME_HERE",
userName: "USERS_NAME_HERE",
sessionPasscode: "SESSION_PASSCODE_HERE",
features: ["video", "audio", "settings", "users", "chat", "share"],
};
function joinSession() {
sessionContainer = document.getElementById("sessionContainer");
chatContainer = document.getElementById("chatContainer");
videoContainer = document.getElementById("videoContainer");
controlsContainer = document.getElementById("controlsContainer");
uitoolkit.showUitoolkitComponents(sessionContainer, config);
uitoolkit.showChatComponent(chatContainer);
uitoolkit.showVideoComponent(videoContainer);
uitoolkit.showControlsComponent(controlsContainer);
uitoolkit.onSessionClosed(sessionClosed);
}
```
1. Finally, lets set up some logic to properly close the session by calling each component's hide function. These function will be called when the `onSessionClosed` event listener is triggered:
```js
function sessionClosed {
uitoolkit.hideControlsComponent(controlsContainer)
uitoolkit.hideVideoComponent(videoContainer)
uitoolkit.hideChatComponent(chatContainer)
uitoolkit.hideUitoolkitComponents(sessionContainer)
}
```
The UI Toolkit was built using the Video SDK, and offers the same world-class audio and video quality, scale, and security from Zoom's global infrastructure.
If you are looking for complete control over the experience you are building, we recommend custom building with the [Video SDK](/docs/video-sdk/web/ui-toolkit/). If you are looking for a low-code option and a pre-built user interface, the [UI Toolkit](/docs/video-sdk/web/get-started/) can help accelerate your product development.
Get started by installing the UI Toolkit on [npm](https://www.npmjs.com/package/@zoom/videosdk-ui-toolkit), [Maven](https://mvnrepository.com/artifact/us.zoom.uitoolkit), or [Swift Package Manager](https://github.com/zoom/videosdk-ui-toolkit-ios). Once installed, [create your Video SDK account](https://zoom.us/pricing/developer) (10,000 free minutes a month) to get your [Video SDK credentials](/docs/video-sdk/get-credentials/).
Visit the [Android](/docs/video-sdk/android/ui-toolkit/), [iOS](/docs/video-sdk/ios/ui-toolkit/), and [web](/docs/video-sdk/web/ui-toolkit/) UI Toolkit docs for more information.